部署ELK实时日志监控系统

我是一直在努力的学习思考并改变自己.


系统拓扑:

安装nginx

安装nginx

1
2
3
[root@localhost ~]# yum install nginx -y
[root@localhost ~]# /usr/sbin/nginx -v
nginx version: nginx/1.12.2

修改其配置文件,将nginx日志格式转换为json格式

1
2
3
4
5
6
7
8
9
10
11
12
13
http {
log_format log_json '{"remote_addr": "$remote_addr", '
'"ident": "-", '
'"user": "$remote_user", '
'"timestamp": "$time_local", '
'"request": "$request", '
'"status": $status, '
'"bytes": $body_bytes_sent, '
'"referer": "$http_referer", '
'"agent": "$http_user_agent", '
'"x_forwarded": "$http_x_forwarded_for"'
' }';
access_log /var/log/nginx/access-json.log log_json;

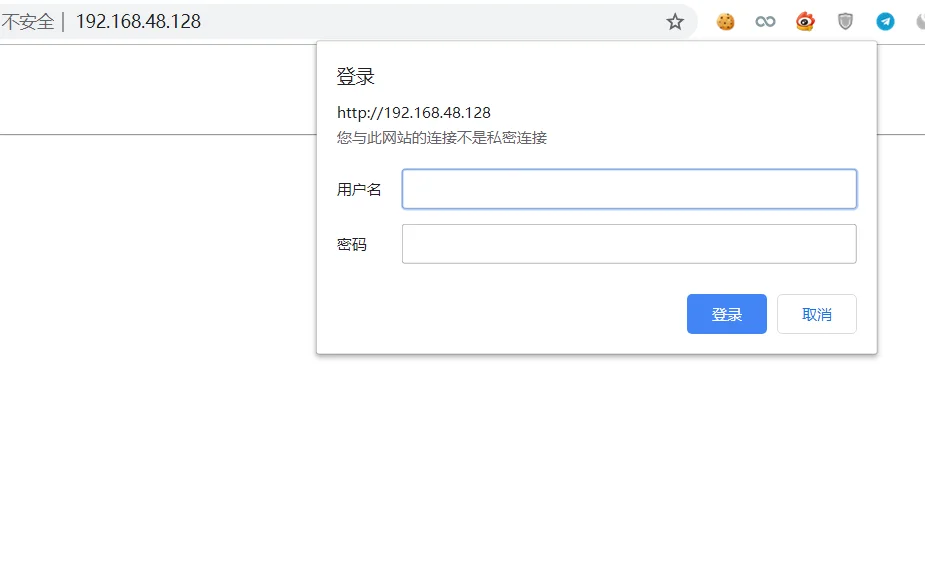
设置nginx认证

设置nginx必须使用用户名密码方式验证,修改配置文件

1
2
3
4
5
6
7
location / {
root html;
index index.html index.htm;
auth_basic "kibana auth";
auth_basic_user_file /etc/nginx/conf.d/passwd;
proxy_pass http://127.0.0.1:5601;
}

接着去创建一个passwd,写入用户名密码

1
2
[root@localhost conf.d]# touch passwd
[root@localhost conf.d]# vim passwd

但如果明文写入其中的话,并不安全,所以需要加密,我们使用openssl软件进行加密.OpenSSL是一个强大的安全套接字层密码库,参数passwd表示生成散列密码,-apr1表示基于 MD5 的密码算法, 为Apache 变异加密,而且相同的值每次所计算的结果均不一样

1
2
[root@localhost conf.d]# openssl passwd -apr1 123456
$apr1$VSksFdhI$lU3M4V2wRPJ9qaTzYrDeX/

写入内容为:

1
admin:$apr1$VSksFdhI$lU3M4V2wRPJ9qaTzYrDeX/

重启nginx

1
[root@localhost nginx]# systemctl restart nginx

再次访问的话就需要输入用户名密码才可以打开nginx界面

部署filebeat

下载filebeat

1
[root@localhost local]# wget https://artifacts.elastic.co/downloads/beats/filebeat/filebeat-6.6.2-linux-x86_64.tar.gz

解压缩

1
[root@localhost local]# tar zxvf filebeat-6.6.2-linux-x86_64.tar.gz

修改其配置文件

1
2
3
4
5
6
7
8
9
10
11
12
13
14
15
16
17
18
19
20
21
22
23
24
25
26
27
28
29
30
[root@localhost local]# cd filebeat-6.6.2-linux-x86_64/            
[root@localhost filebeat-6.6.2-linux-x86_64]# vim filebeat.yml
filebeat.inputs:
#设置输入类型为日志类型
- type: log

#开启input配置
enabled: true

#设置每隔一秒检查一次文件更新
backoff: "1s"

#从开头读取文件
tail_files: false

# 修改路径为nginx日志路径,即接收nginx日志文件
paths:
- /var/log/nginx/access-json.log
fields: #自定义一个字段
filetype: logjson #给自定义的字段赋值
fields_under_root: true #设置自定义字段为文档中的顶级字段

#输出到redis当中去
output.redis:
enabled: true
hosts: ["127.0.0.1:6379"]
port: 6379
key: nginx
db: 0
datatype: list

搭建redis缓存服务器

下载

1
[root@localhost local]# wget http://download.redis.io/releases/redis-4.0.14.tar.gz

解压

1
[root@localhost local]# tar zxvf redis-4.0.14.tar.gz

编译

1
[root@localhost redis-4.0.14]# make

如果出现以下报错

1
2
3
4
5
6
7
8
9
10
[root@localhost redis-4.0.14]# make
cd src && make all
make[1]: 进入目录“/usr/local/redis-4.0.14/src”
CC Makefile.dep
make[1]: 离开目录“/usr/local/redis-4.0.14/src”
make[1]: 进入目录“/usr/local/redis-4.0.14/src”
CC adlist.o
In file included from adlist.c:34:0:
zmalloc.h:50:31: 致命错误:jemalloc/jemalloc.h:没有那个文件或目录
#include <jemalloc/jemalloc.h>

输入

1
make MALLOC=libc

接着在进行编译即可

初始化redis

1
2
[root@localhost redis-4.0.14]# cd utils/
[root@localhost utils]# ./install_server.sh

如果出现以下问题

1
2
3
4
5
6
7
8
9
10
11
12
13
14
[root@localhost utils]# ./install_server.sh 
Welcome to the redis service installer
This script will help you easily set up a running redis server

Please select the redis port for this instance: [6379]
Selecting default: 6379
Please select the redis config file name [/etc/redis/6379.conf]
Selected default - /etc/redis/6379.conf
Please select the redis log file name [/var/log/redis_6379.log]
Selected default - /var/log/redis_6379.log
Please select the data directory for this instance [/var/lib/redis/6379]
Selected default - /var/lib/redis/6379
Please select the redis executable path []
Mmmmm... it seems like you don't have a redis executable. Did you run make install yet?

那么就去创建软连接,将redis-server的软链接创建到/usr/local/bin下

1
[root@localhost src]# ln -s /usr/local/redis-4.0.14/src/redis-server /usr/local/bin/

接着去修改redis配置文件

1
2
3
4
5
6
7
8
9
10
11
[root@localhost utils]# vim /etc/redis/6379.conf
#设置任意主机均可连接
bind 0.0.0.0
#默认6379端口
port 6379
#允许在后台启动
daemonize yes
#输入的日志文件
logfile /var/log/redis_6379.log
#数据目录
dir /var/lib/redis/6379

开启redis

1
[root@localhost utils]# systemctl restart redis_6379

将redis-cli添加到/usr/local/bin目录下,然后启动redis-cli客户端

1
2
3
4
5
6
7
8
[root@localhost src]# ln -s /usr/local/redis-4.0.14/src/redis-cli /usr/local/bin/
[root@localhost src]# redis-cli
127.0.0.1:6379> set name haha #创建个键,其名为haha
OK
127.0.0.1:6379> keys * #查看所有的键
1) "name"
127.0.0.1:6379> get name #查看name键的值
"haha"

同步系统时间,这里与阿里的ntp服务器进行同步

ntp1.aliyun.com ~ ntp5.aliyun.com这几个ntp服务器都可以使用的

1
2
3
4
5
[root@localhost config]# ntpdate ntp1.aliyun.com  #进行同步
29 May 15:04:13 ntpdate[20946]: adjust time server 120.25.115.20 offset -0.004502 sec

[root@localhost config]# date -R #查看当前时区时间
Wed, 29 May 2019 15:04:56 +0800

修改logstash配置文件

修改logstash配置文件,使用logstash-input-redis插件

1
2
3
4
5
6
7
8
9
10
11
12
13
14
15
16
17
18
19
20
21
22
23
24
25
26
27
28
29
[root@localhost config]# vim logstash.conf
#修改如下
input {
redis {
host => "127.0.0.1"
port => 6379
key => "nginx"
data_type => "list"
db => 0
}
}

filter {
json { #使用JSON解析过滤器
source => "message"
remove_field => ["beat","offset","tags","prospector"]
}
date { #使用
match => ["timestamp", "dd/MMM/yyyy:HH:mm:ss Z"]
target => "@timestamp"
}
}

output {
elasticsearch {
hosts => ["127.0.0.1:9200"]
index => "redis-%{+YYYY.MM.dd}"
}
}

启动logstash

1
[root@localhost config]# ../bin/logstash -f logstash.conf

启动filebeat

1
[root@localhost filebeat]# ./filebeat -e -c filebeat.yml

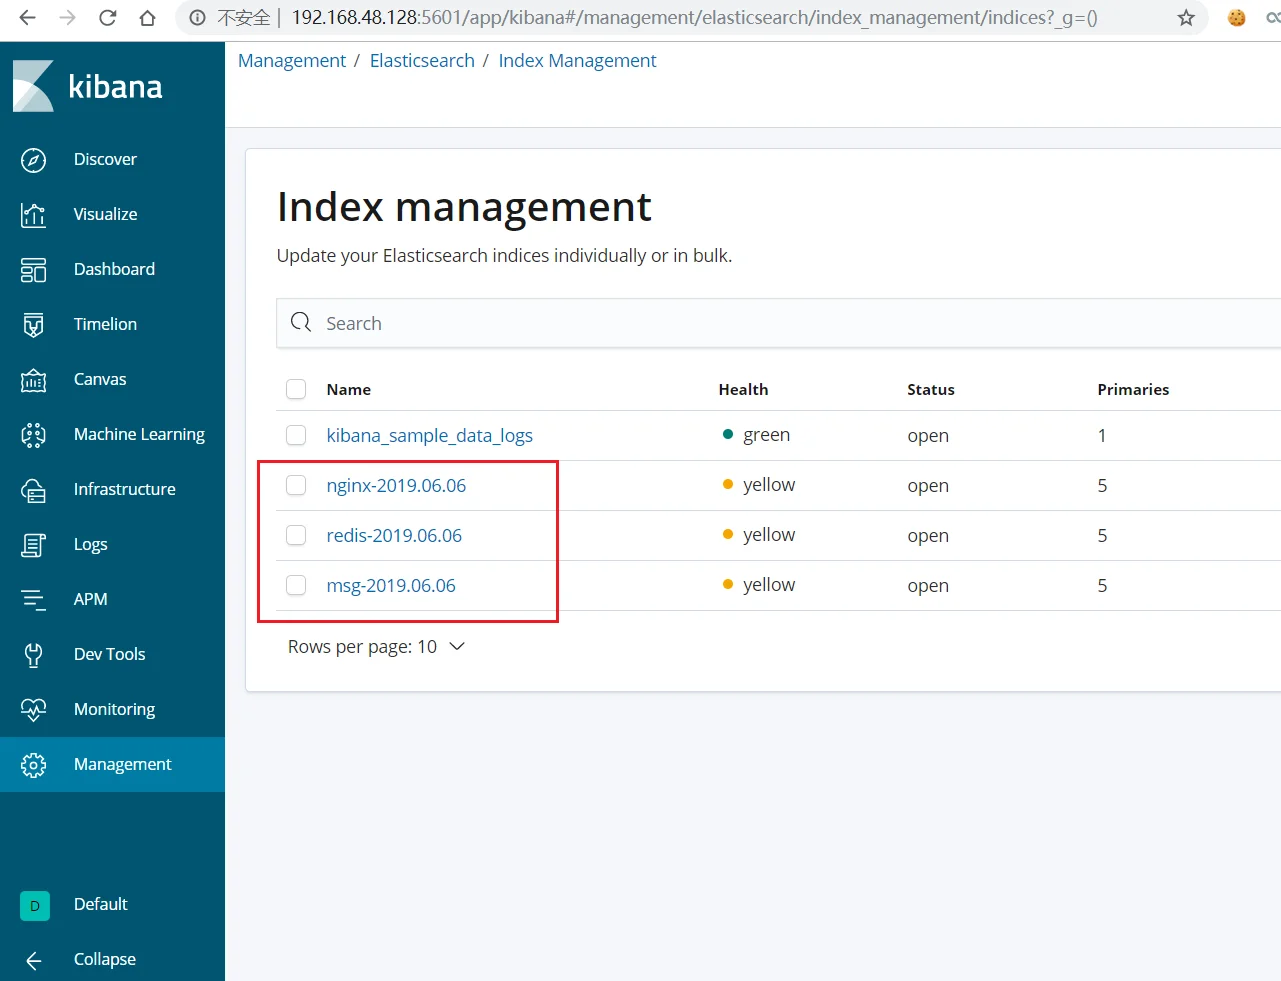
当logstash无法使用的时候,数据会保存到redis中,一旦logstash可以正常使用的时候,会将redis的数据取出进行数据过滤展示在kibana中

部署elasticsearch集群

修改其配置文件

1
2
3
4
5
6
#检查两台主机的集群名是否一致,若不一致,则无法加入统一集群中
cluster.name: my-cluster
#检查端口,使用默认端口即可
transport.tcp.port: 9300
#设置使用zen discovery机制对本地两台主机进行监控
discovery.zen.ping.unicast.hosts: ["192.168.48.129:9300", "192.168.48.130:9300"]

设置主节点资格并互相连接的节点最小数目,如果不做这种设置,遭受网络故障的集群就有可能将集群分为两个独立的集群,成为脑裂,计算公式为:对于n个节点来说,则就取(10/n)+1的值

1
discovery.zen.minimum_master_nodes: 2

配置主节点和数据节点

1
2
node.master: true   #成为主节点
node.data: true #存储数据

另一台主机的配置

1
2
3
4
5
6
7
cluster.name: my-cluster
node.name: node-2 #两台主机的集群名一致,但节点名不能设置一样的
transport.tcp.port: 9300
node.master: true
node.data: true
discovery.zen.ping.unicast.hosts: ["192.168.48.129:9300", "192.168.48.130:9300"]
discovery.zen.minimum_master_nodes: 2

检测是否成功

1
2
3
4
5
6
7
8
9
10
11
12
13
14
15
16
17
18
19
20
21
22
23
24
25
26
27
28
29
30
31
32
33
34
35
36
37
[root@localhost ~]# curl http://192.168.48.129:9200
{
"name" : "node-1",
"cluster_name" : "cluster",
"cluster_uuid" : "rTfmsrGcTjWqqPk5MPRq7A", #配置成功之后其uuid变化
"version" : {
"number" : "6.6.2",
"build_flavor" : "default",
"build_type" : "tar",
"build_hash" : "3bd3e59",
"build_date" : "2019-03-06T15:16:26.864148Z",
"build_snapshot" : false,
"lucene_version" : "7.6.0",
"minimum_wire_compatibility_version" : "5.6.0",
"minimum_index_compatibility_version" : "5.0.0"
},
"tagline" : "You Know, for Search"
}

[root@localhost ~]# curl http://192.168.48.130:9200
{
"name" : "node-2",
"cluster_name" : "cluster",
"cluster_uuid" : "rTfmsrGcTjWqqPk5MPRq7A",
"version" : {
"number" : "6.6.2",
"build_flavor" : "default",
"build_type" : "tar",
"build_hash" : "3bd3e59",
"build_date" : "2019-03-06T15:16:26.864148Z",
"build_snapshot" : false,
"lucene_version" : "7.6.0",
"minimum_wire_compatibility_version" : "5.6.0",
"minimum_index_compatibility_version" : "5.0.0"
},
"tagline" : "You Know, for Search"
}

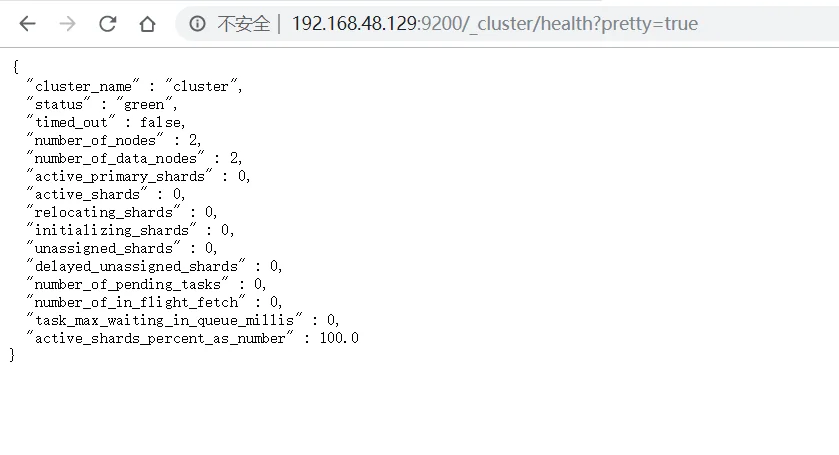
成功安装,查看集群查询健康状态(设置的pretty=true参数表示以便于查看的形式显示):

1
http://192.168.48.129:9200/_cluster/health?pretty=true

其状态有三种情况

green:表示所有主分片和副本分片都处于活动状态

yellow:表示所有的主分片都处于活动状态,非所有副本状态处于活动状态

red:表示不是所有的主分片都处于活动状态

编辑kibana配置文件

修改kibana配置文件,设置连接主机为集群中的两台主机

1
elasticsearch.hosts: ["http://192.168.48.129:9200","http://192.168.48.130"]

集群的状态查询

1
http://192.168.48.129:9200/_cluster/state?pretty=true

查看节点信息

1
http://192.168.48.129:9200/_nodes?pretty=true

安装ik中文分词器

简介:

1
2
3
4
5
6
IKAnalyzer是一个开源的,基于java语言开发的轻量级的中文分词工具包。
采用了特有的“正向迭代最细粒度切分算法“,支持细粒度和最大词长两种切分模式;具有83万字/秒(1600KB/S)的高速处理能力。
采用了多子处理器分析模式,支持:英文字母、数字、中文词汇等分词处理,兼容韩文、日文字符
优化的词典存储,更小的内存占用。支持用户词典扩展定义
针对Lucene全文检索优化的查询分析器IKQueryParser(作者吐血推荐);引入简单搜索表达式,采用歧义分析算法优化查询关键字的搜索排列组合,能极大的提高Lucene检索的命中率。
下载IK中文分词器

下载IK中文分词器

1
wget https://github.com/medcl/elasticsearch-analysis-ik/releases/download/v6.6.2/elasticsearch-analysis-ik-6.6.2.zip

然后在elasticsearch目录下的plugins下创建目录ik,将IK中文分词器在该目录下解压

1
2
3
4
5
6
7
8
9
10
[elk@localhost ik]$ ls
commons-codec-1.9.jar
commons-logging-1.2.jar
config
elasticsearch-analysis-ik-6.6.2.jar
elasticsearch-analysis-ik-6.6.2.zip
httpclient-4.5.2.jar
httpcore-4.4.4.jar
plugin-descriptor.properties
plugin-security.policy

接下来重启elasticsearch,然后在开发者工具下设置

创建一个索引

1
PUT /my_ik

创建个映射

1
2
3
4
5
6
7
8
9
10
POST /my_ik/fulltext/_mapping
{
"properties": {
"content":{
"type": "text",
"analyzer": "ik_max_word",
"search_analyzer": "ik_max_word"
}
}
}

插入四组内容

1
2
3
4
5
6
7
8
9
10
11
12
13
14
15
16
17
18
19
POST /my_ik/fulltext/1
{
"content":"美国留给伊拉克的是个烂摊子吗"
}

POST /my_ik/fulltext/2
{
"content":"公安部:各地校车将享最高路权"
}

POST /my_ik/fulltext/3
{
"content":"中韩渔警冲突调查:韩警平均每天扣1艘中国渔船"
}

POST /my_ik/fulltext/4
{
"content":"中国驻洛杉矶领事馆遭亚裔男子枪击 嫌犯已自首"
}

查询content中带有中国的数据

1
2
3
4
5
6
7
8
GET /my_ik/fulltext/_search
{
"query": {
"match": {
"content": "中国"
}
}
}

设置搜索结果高亮显示

1
2
3
4
5
6
7
8
9
10
11
12
13
14
15
GET /fxik/fulltext/_search
{
"query": {
"match": {
"content": "中国"
}
},
"highlight": {
"pre_tags" : ["<strong>", "<tag2>"],
"post_tags" : ["</strong>", "</tag2>"],
"fields" : {
"content" : {}
}
}
}

使用ik_max_word分词器对内容进行分词

1
2
3
4
5
GET /my_ik/_analyze
{
"text":"中华人民共和国国歌",
"tokenizer": "ik_max_word"
}

使用标准分词器对内容进行分词.其是将每个字符都作为关键字

1
2
3
4
5
GET /fxik/_analyze
{
"text":"中华人民共和国国歌",
"tokenizer": "standard"
}

依次重启各个服务

对elasticsearch进行基本的搜索

查询elasticsearch中所有信息

1
2
3
4
5
6
GET _search
{
"query": {
"match_all": {}
}
}

创建一个索引

1
PUT /class

向索引添加一条内容

1
2
3
4
5
6
7
POST /fxclass/student/1
{
"name":"zhangsan",
"age":20,
"email":"zhangsan@qq.com",
"desc":"he is a good person"
}

获取该索引的内容

1
GET /class/_search

根据字段的关键字进行搜索

1
2
3
4
5
6
7
8
GET /class/_search
{
"query": {
"match": {
"desc": "person" #搜索desc字段中存在person关键字的内容
}
}
}

实现报表分析

因为没有数据,所以我们去下载范例进行操作

1
wget https://download.elastic.co/demos/kibana/gettingstarted/accounts.zip

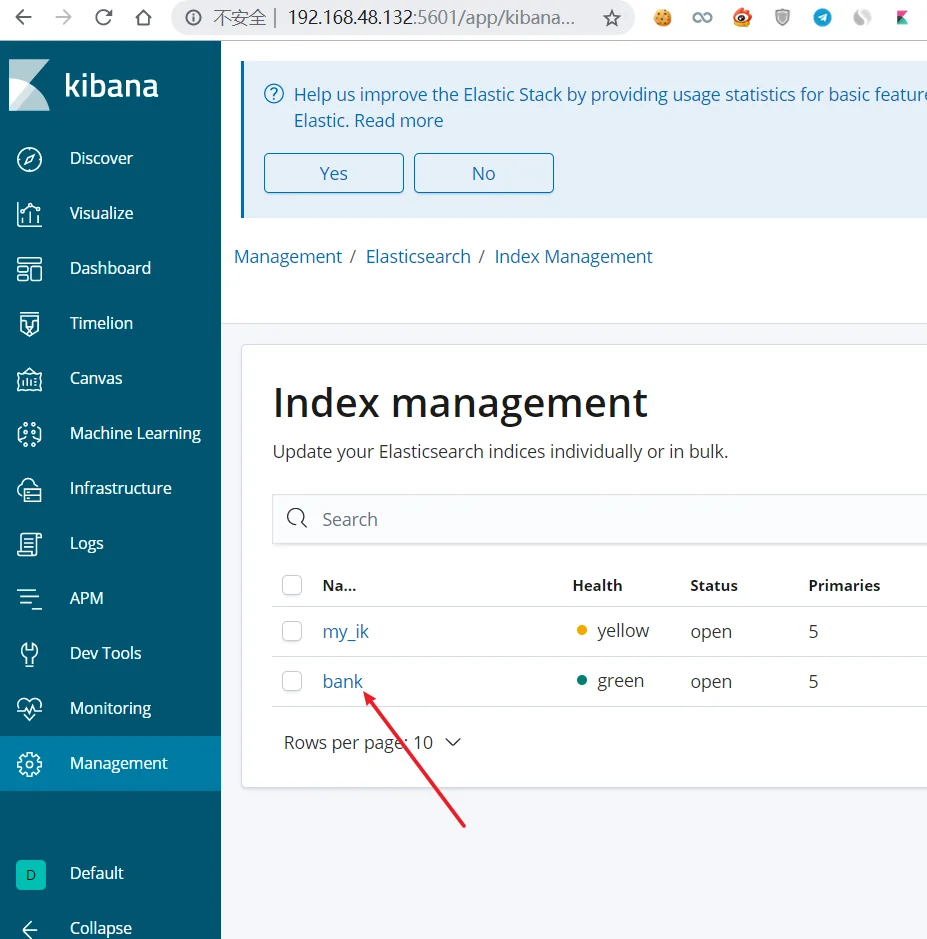
解压,然后将该文件加载到elasticsearch中

1
[root@localhost local]# curl -H 'Content-Type: application/x-ndjson' -XPOST 'localhost:9200/bank/account/_bulk?pretty' --data-binary @accounts.json

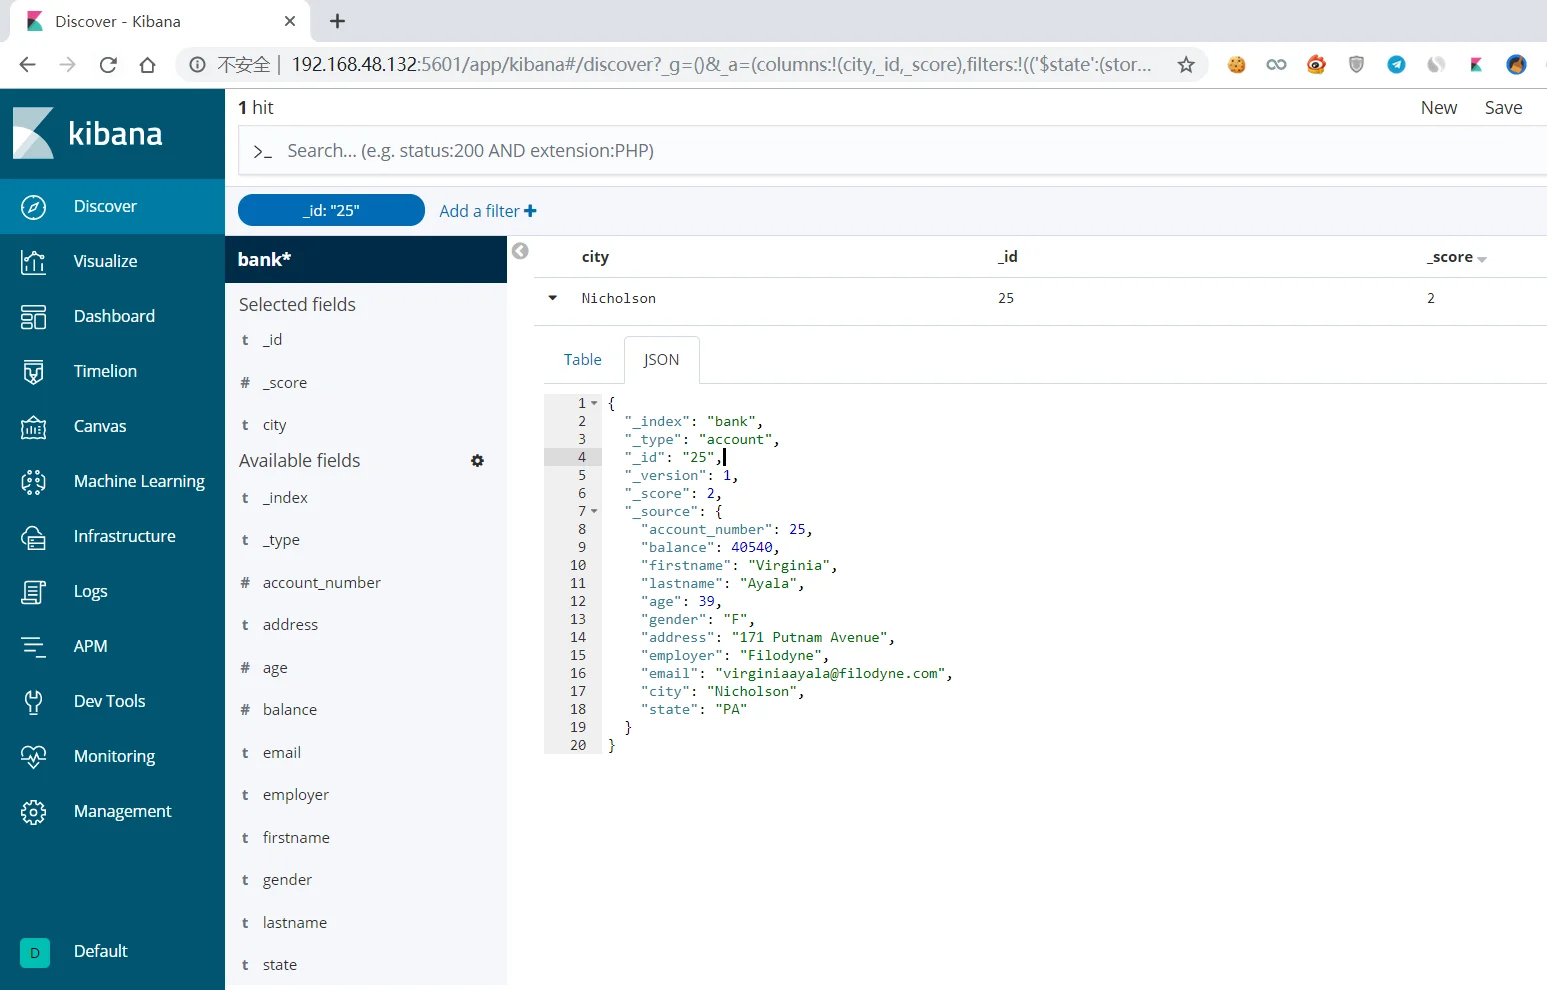
进行报表分析,建立pattern

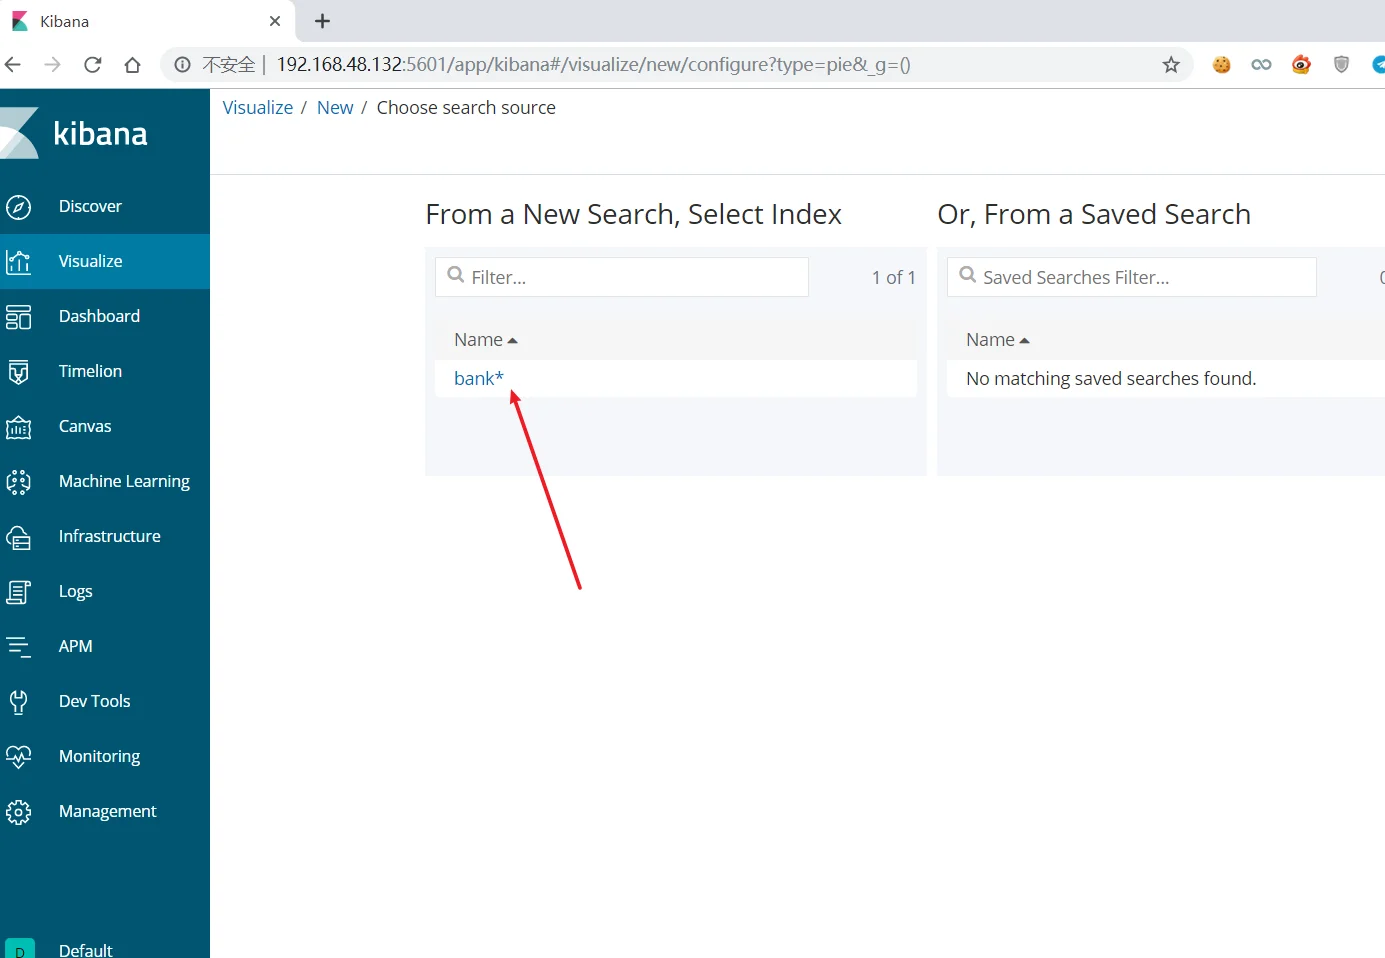
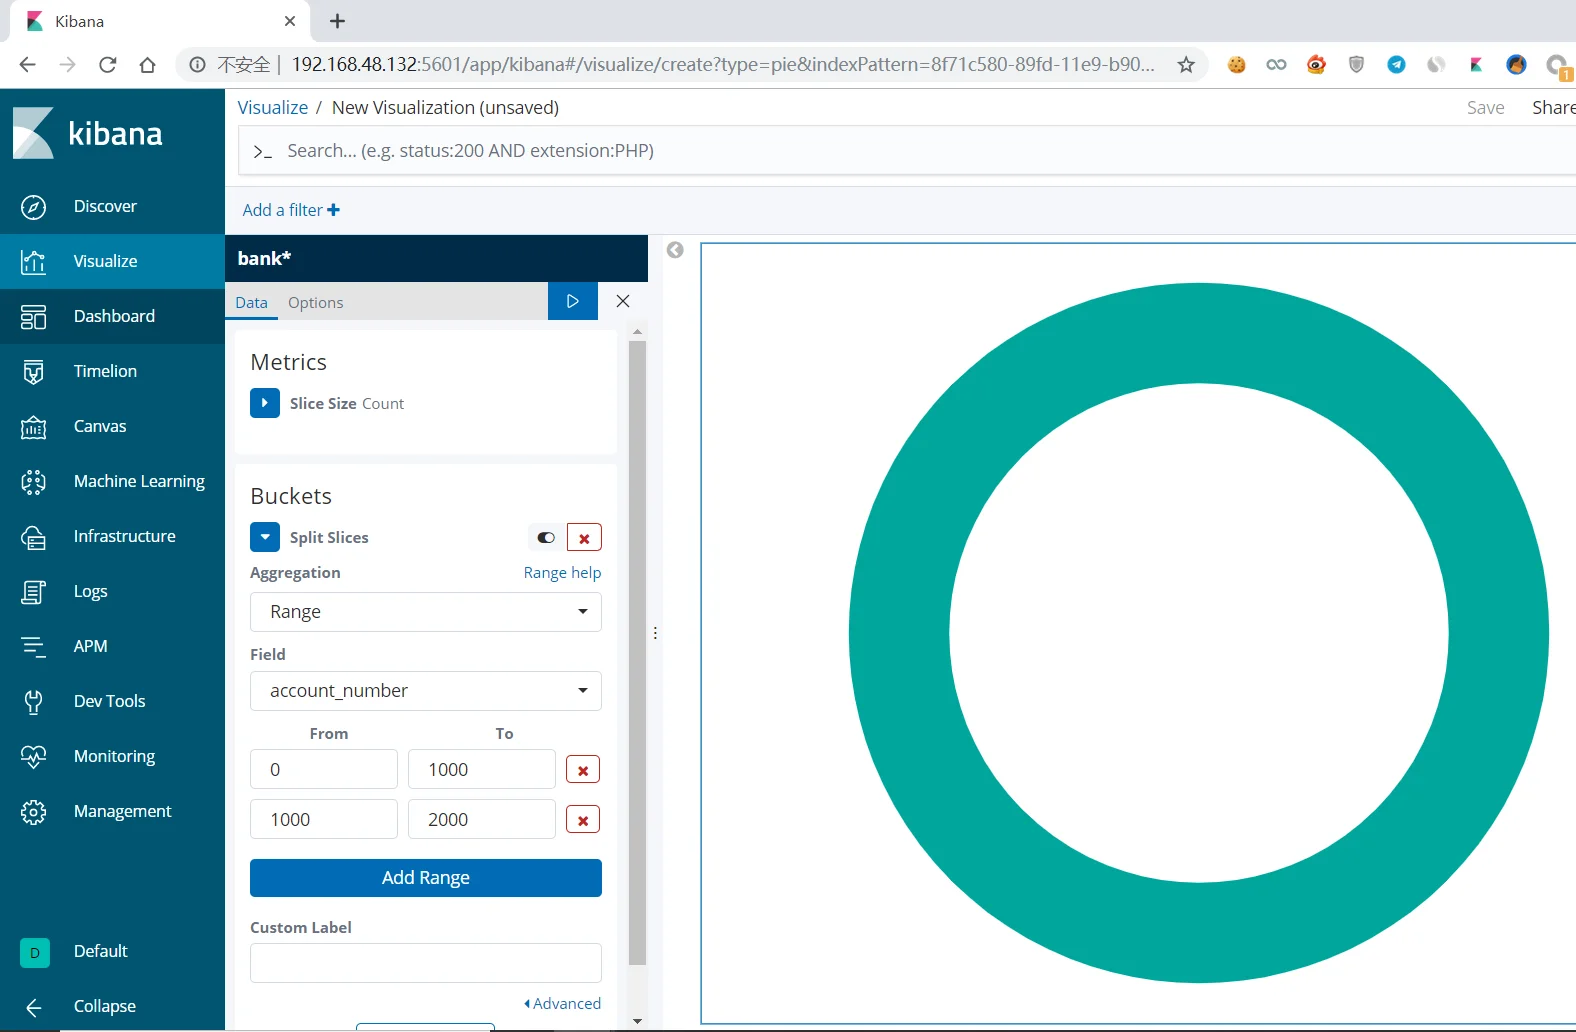
创建可视化界面,使用模板创建

-------------本文结束感谢您的阅读-------------
0%